When it comes to creating a stunning and lifelike Lithophane, the choice of the right photograph is crucial. A Lithophane, after all, is all about capturing the essence of a moment or a person in intricate detail. In this step-by-step guide, we will walk you through the process of selecting the ideal portrait photo for your 3D printed masterpiece.
Step 1: Opt for Clear and Sharp Images
Begin by selecting a high-resolution, original photo taken with a digital camera or smartphone. Avoid using screenshots or saved images from social media platforms like Facebook, as they tend to have low quality. Original photos capture details better, ensuring your Lithophane comes out beautifully detailed and sharp.
Step 2: Choose a Well-Lit Portrait
Select a photo taken in soft, natural light. Harsh shadows or overly bright sunlight can obscure details. Natural, diffused light enhances the subject’s features and adds depth to your Lithophane.
Step 3: Composition is key
A well-composed image with the subject in the foreground is best. Choose a relatively close up portrait so your subject shines. Try to avoid an image where the subject is distant or small in the composition and therefore gets lost in the background.
Step 4: Embrace Simplicity
In the background, less is more. Opt for uncluttered, simple backgrounds. A plain wall or a natural setting works best. Simplicity ensures the focus remains on the subject, making your Lithophane visually striking.
Step 5: Select Expressive and Emotive Photos
Choose a portrait that captures genuine emotions and expressions. A heartfelt smile, a thoughtful gaze, or a moment of laughter adds depth and character to your Lithophane, making it emotionally resonant. Your picture doesn’t just have to be of a person, your furry friends also make great subjects!
Step 6: Consider the Angle
Front-facing or slightly angled portraits work well to capture features. Try to avoid having harsh shadows or highlights on the face.
Step 7: Seek Expert Guidance (If uncertain)
If you’re unsure whether a photo is suitable, don’t hesitate to get in touch with Imprint3D NZ. We’re here to help. Send us your image, and we’ll assess its suitability for creating a high-quality Lithophane. We can help adjust or crop the image if it’s not quite perfect. Your satisfaction is our priority, ensuring your cherished moments are captured flawlessly.
Here’s some example of images that work well for a Lithophane and some that are not really suitable to give you guidance, but reach out if you have questions.
Good examples
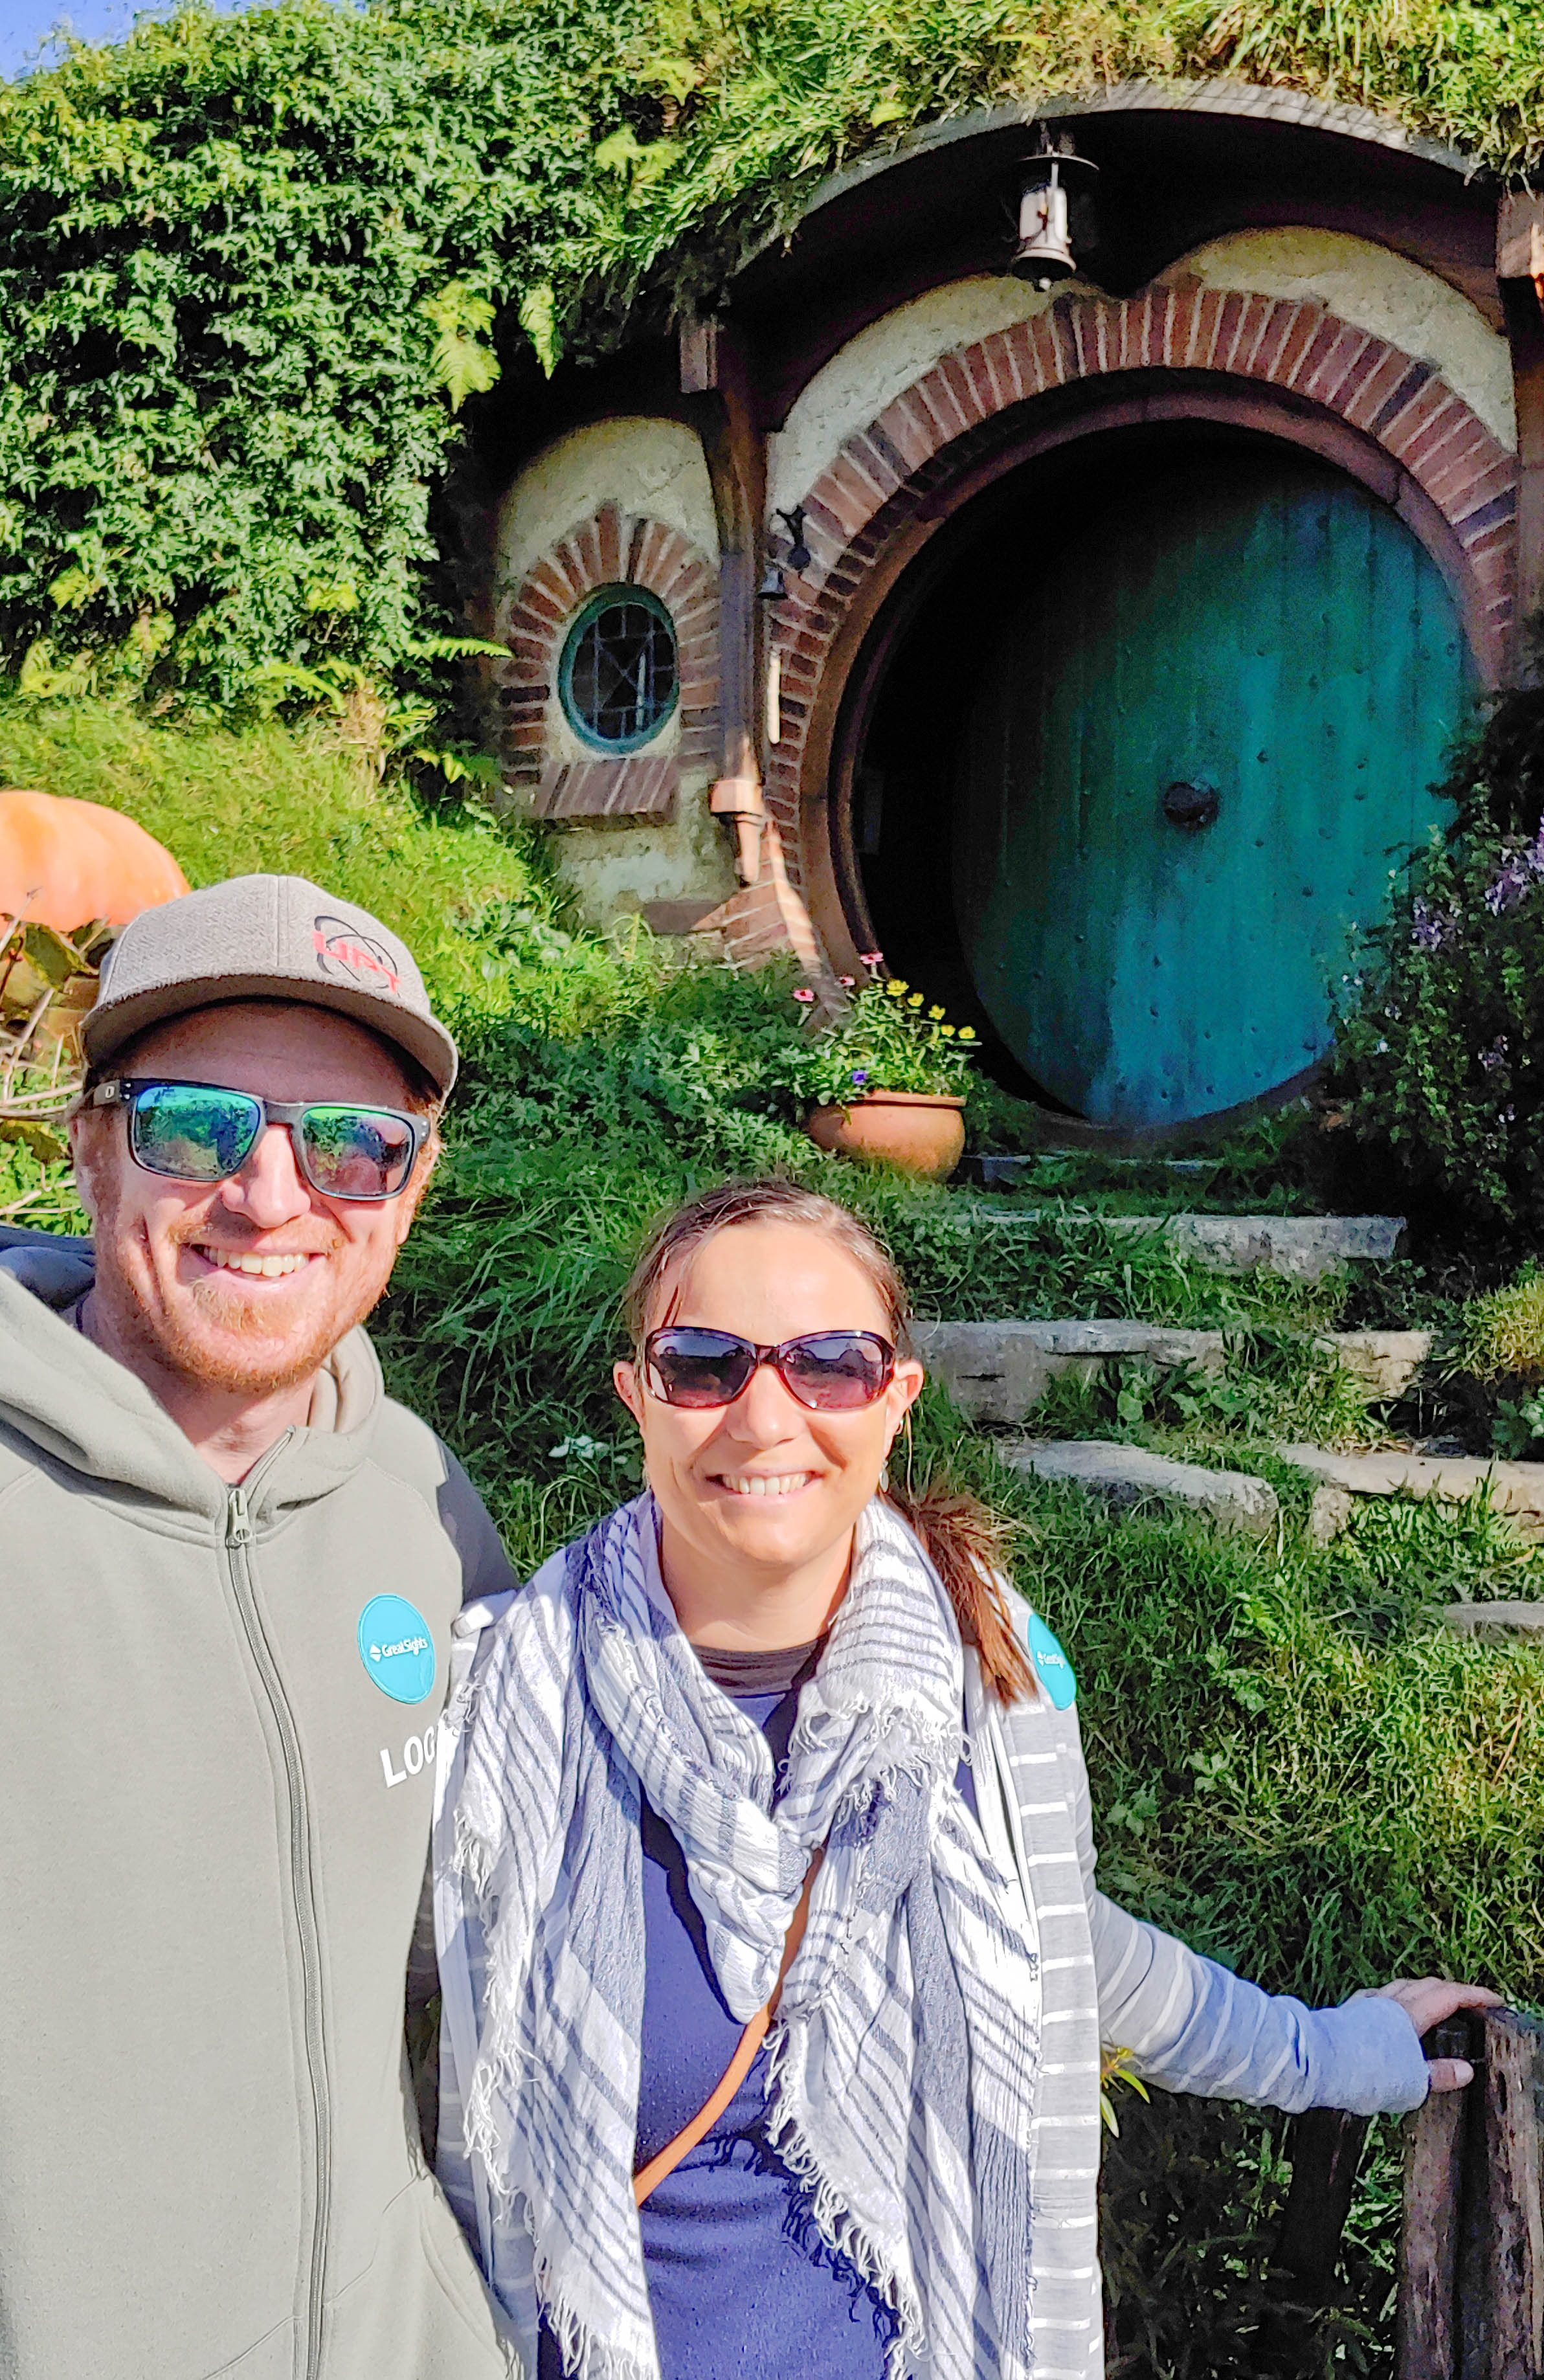
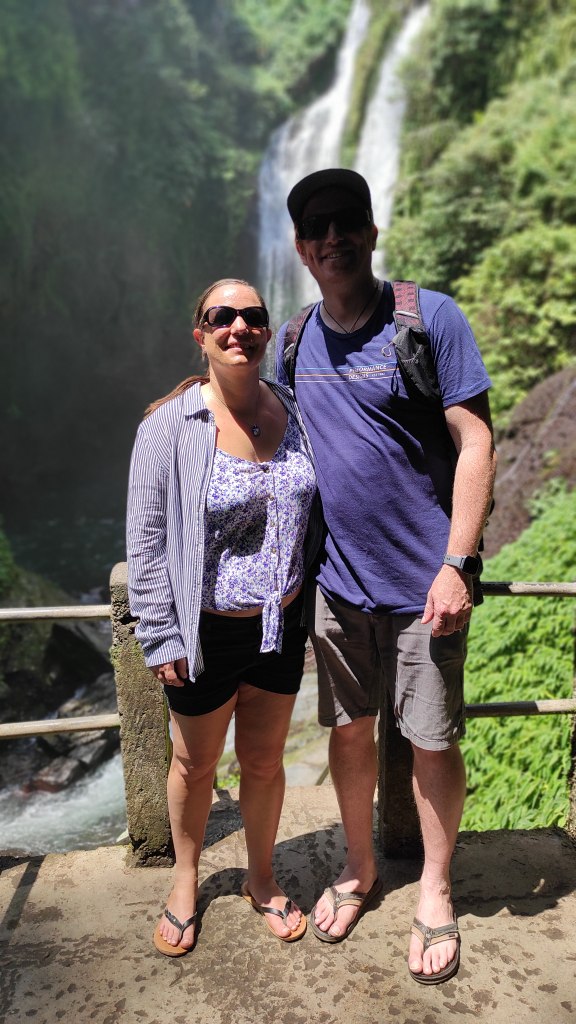
Clear and sharp image

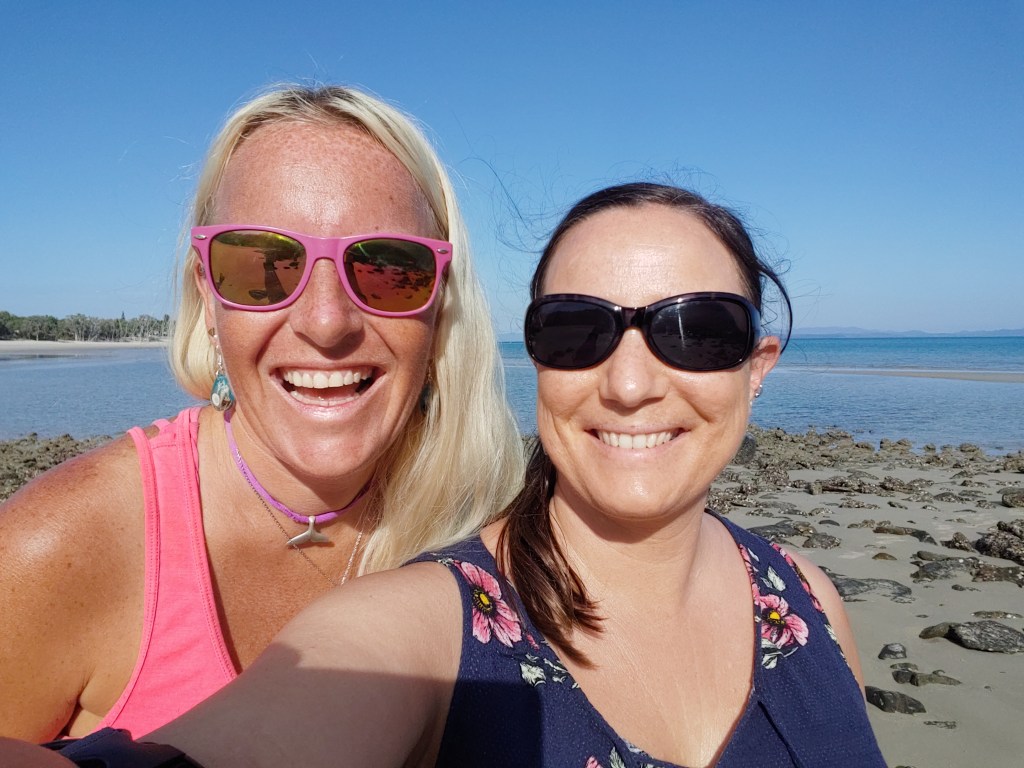
Good lighting; well lit overall

Good lighting; even with no stark contrast

Well composed with subject in foreground
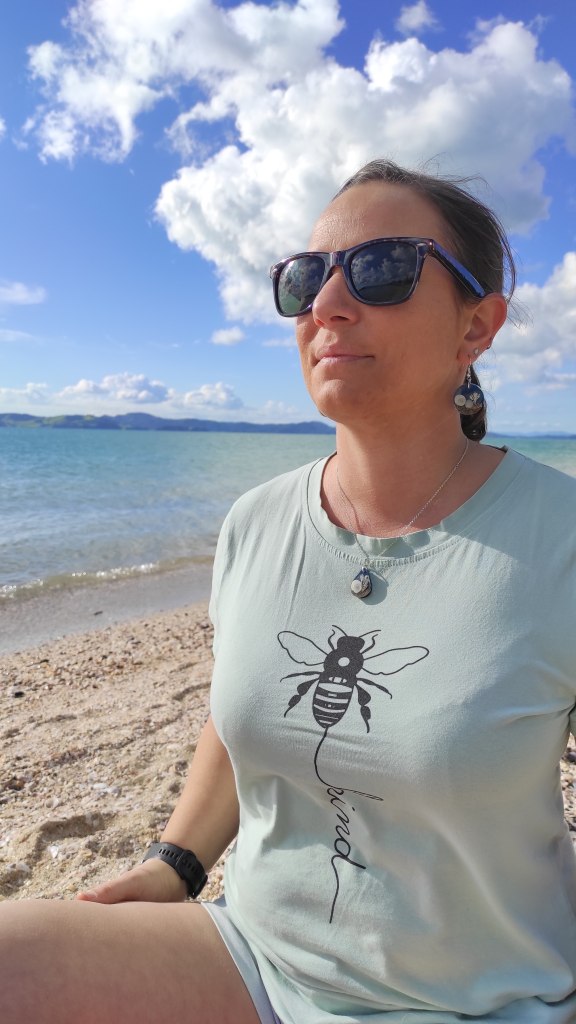
Well composed with subject face-on or slightly angled
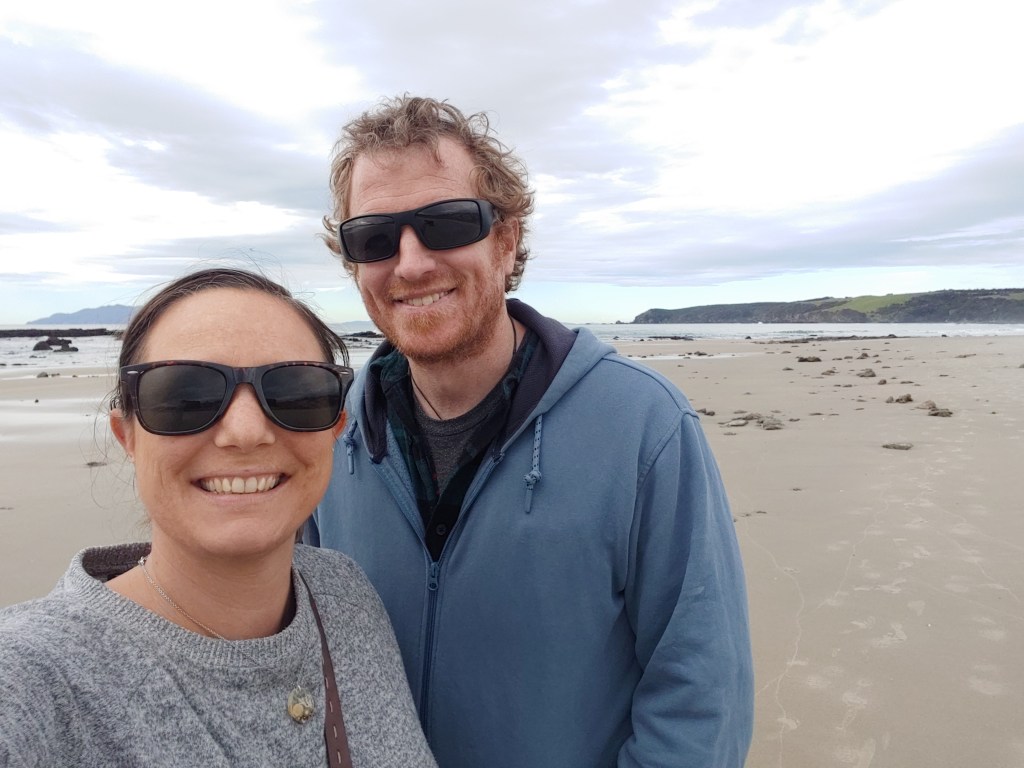
Neutral simplistic background so subject stands out
Unsuitable

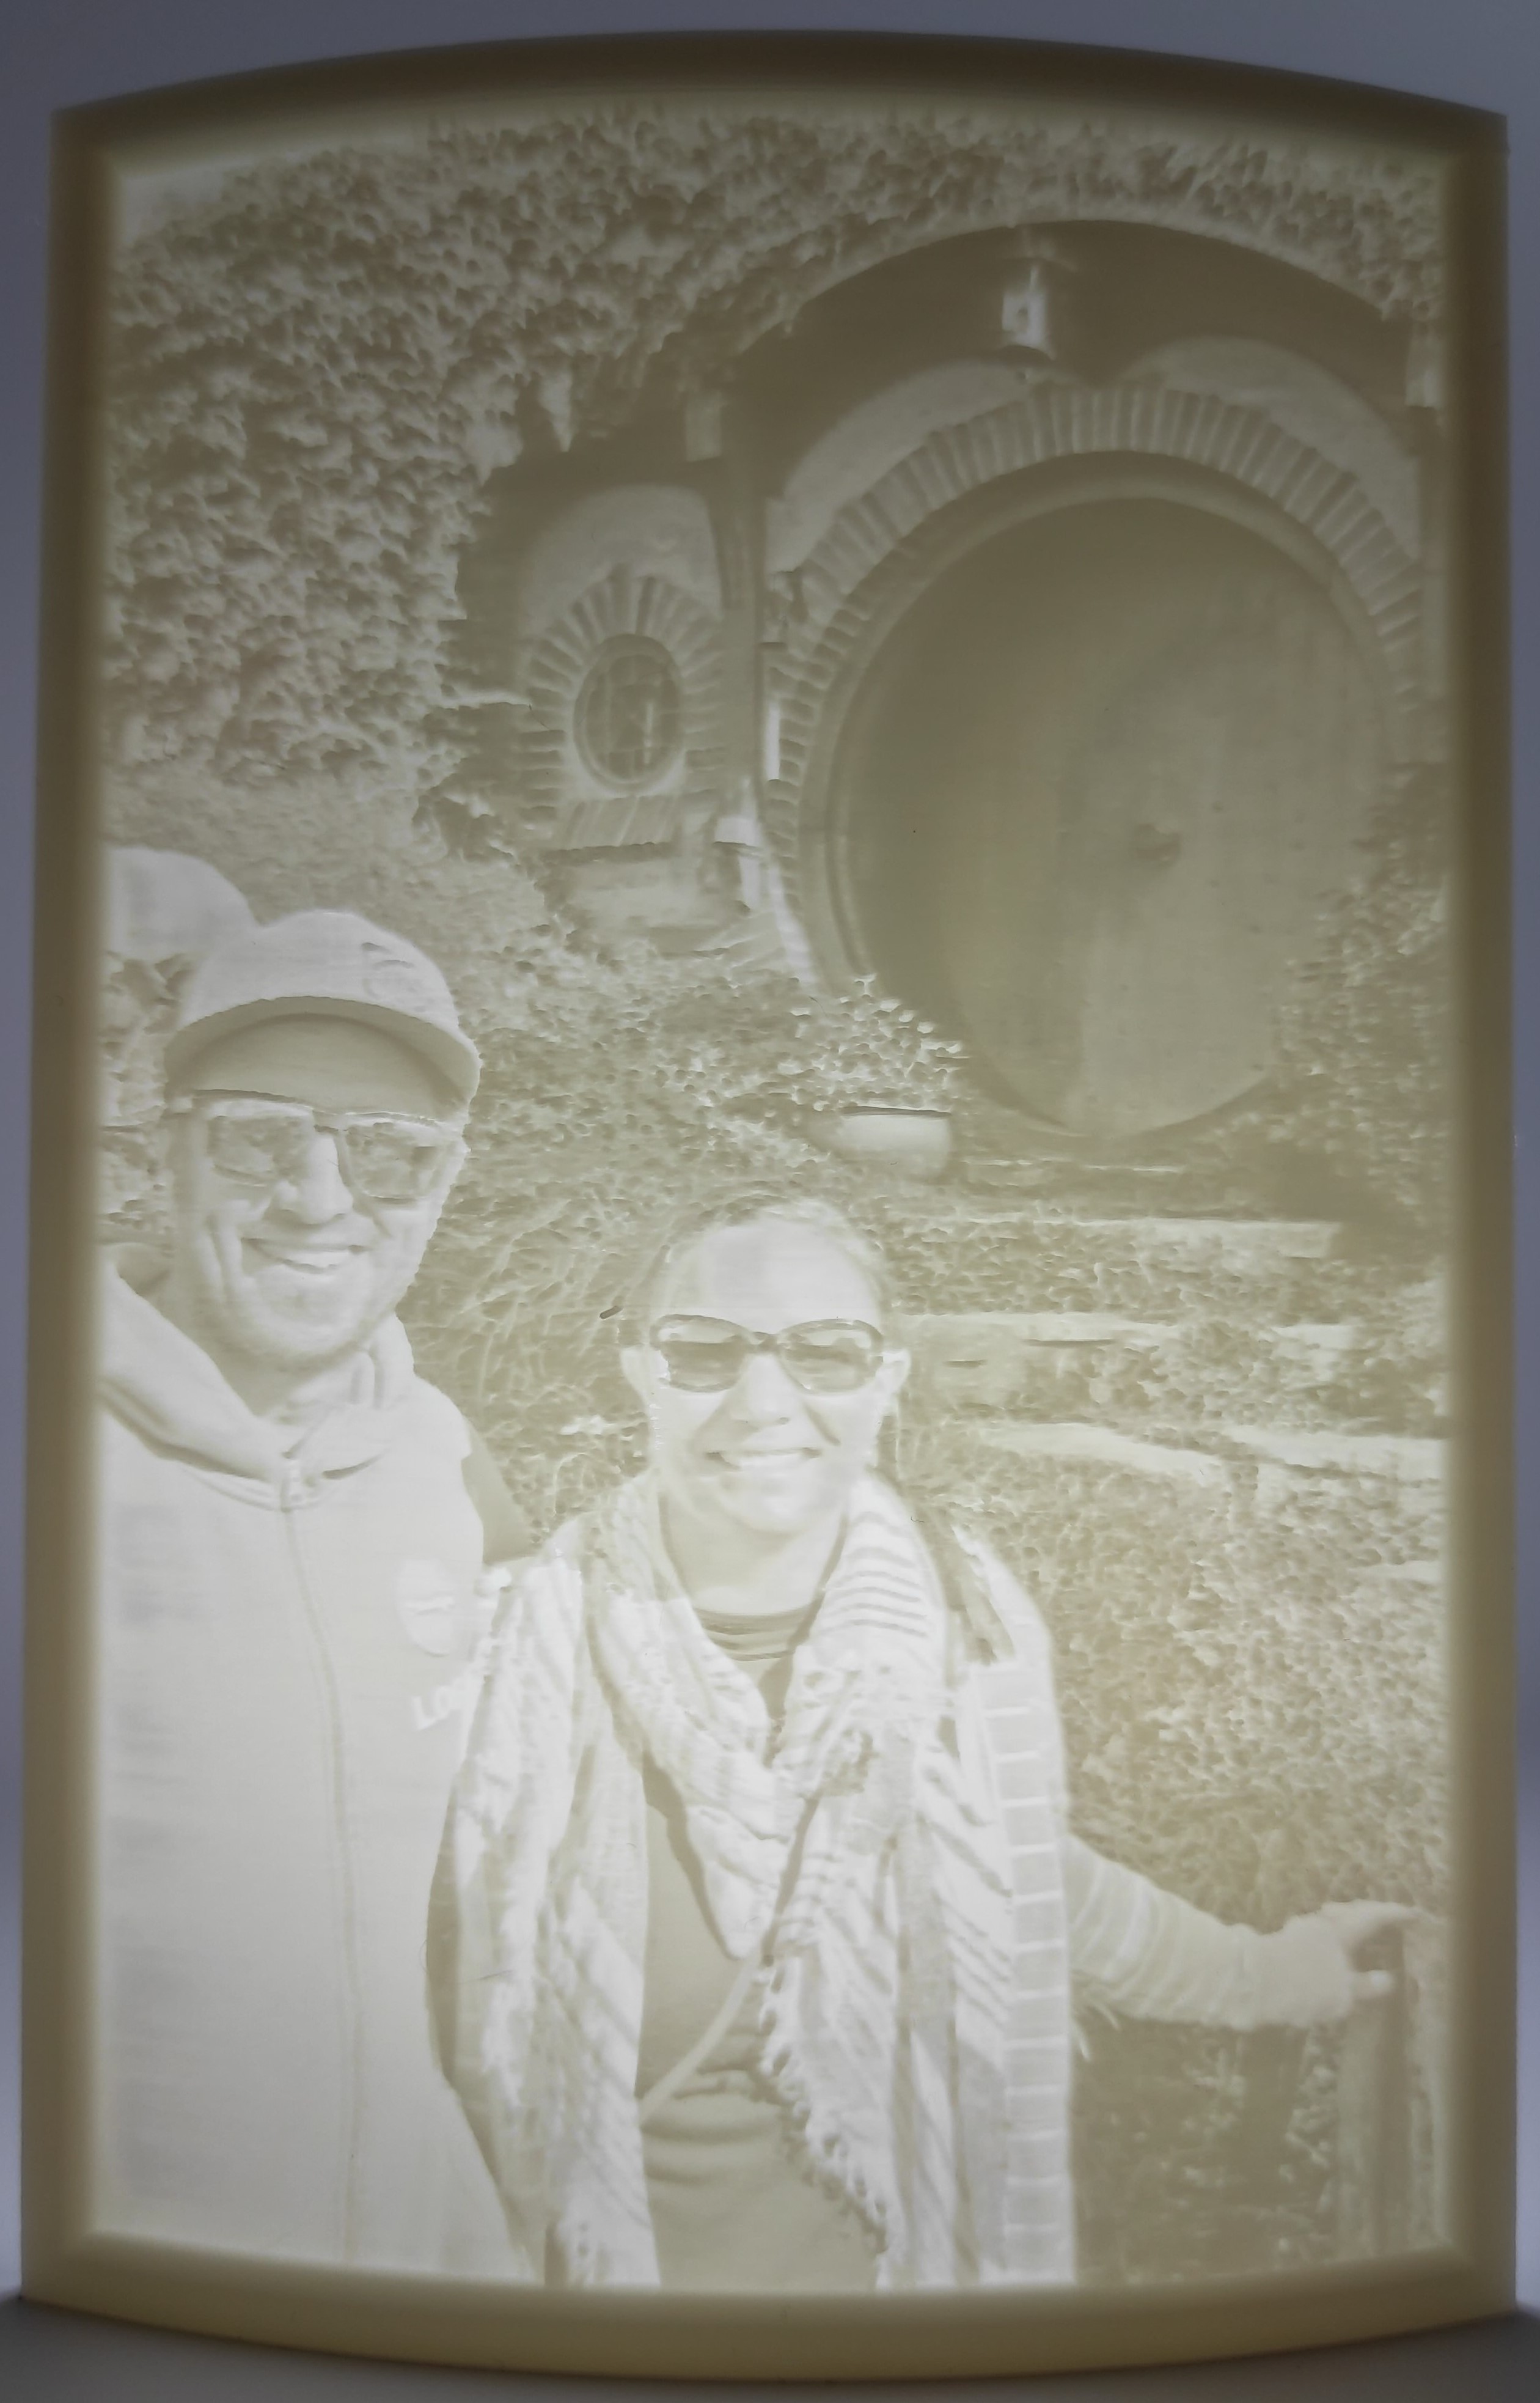
Blurry image or low resolution
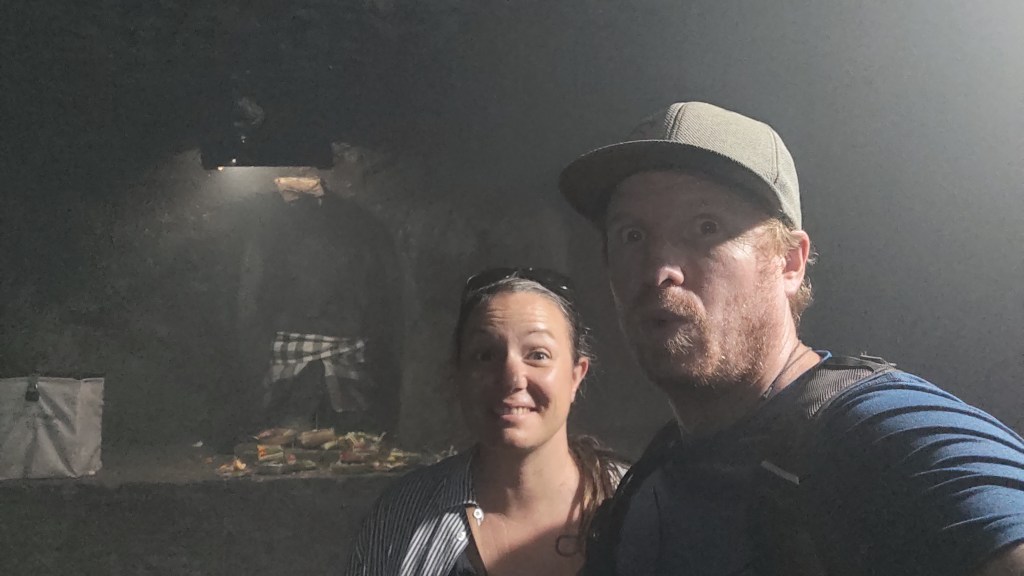
Poor lighting; too dark

Poor lighting; too much contrast
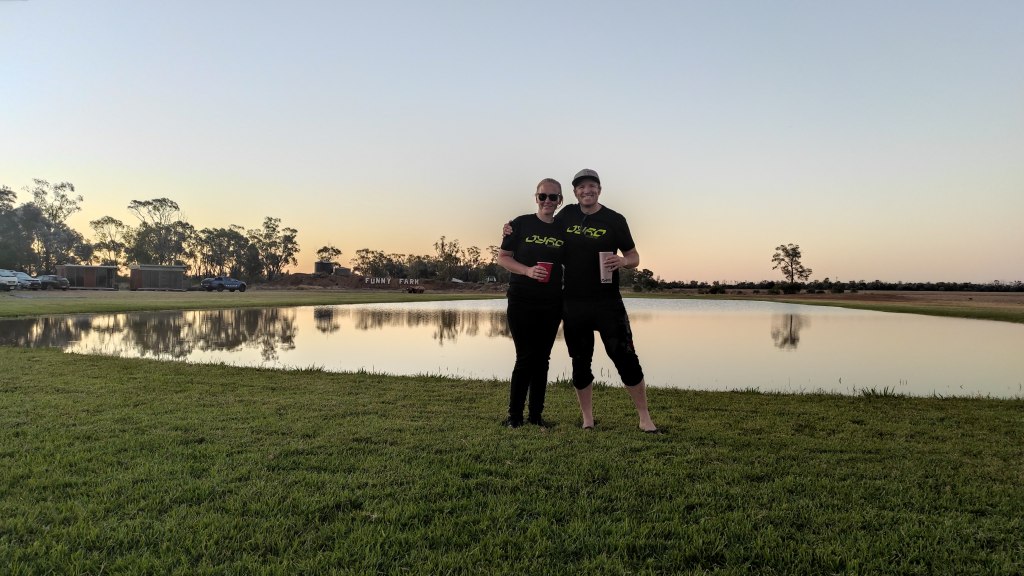
Poorly composed with subject too small/distant
Poorly composed with subject face hidden or dark
Busy/cluttered background with subject lost
Follow these steps and tips to select your photo today and get started with creating the perfect Lithophane. Remember this is only a guide to helping you on your way, Imprint3D NZ is here to assist you at every step.
If you’re ready to order a Lithophane follow these steps.

